
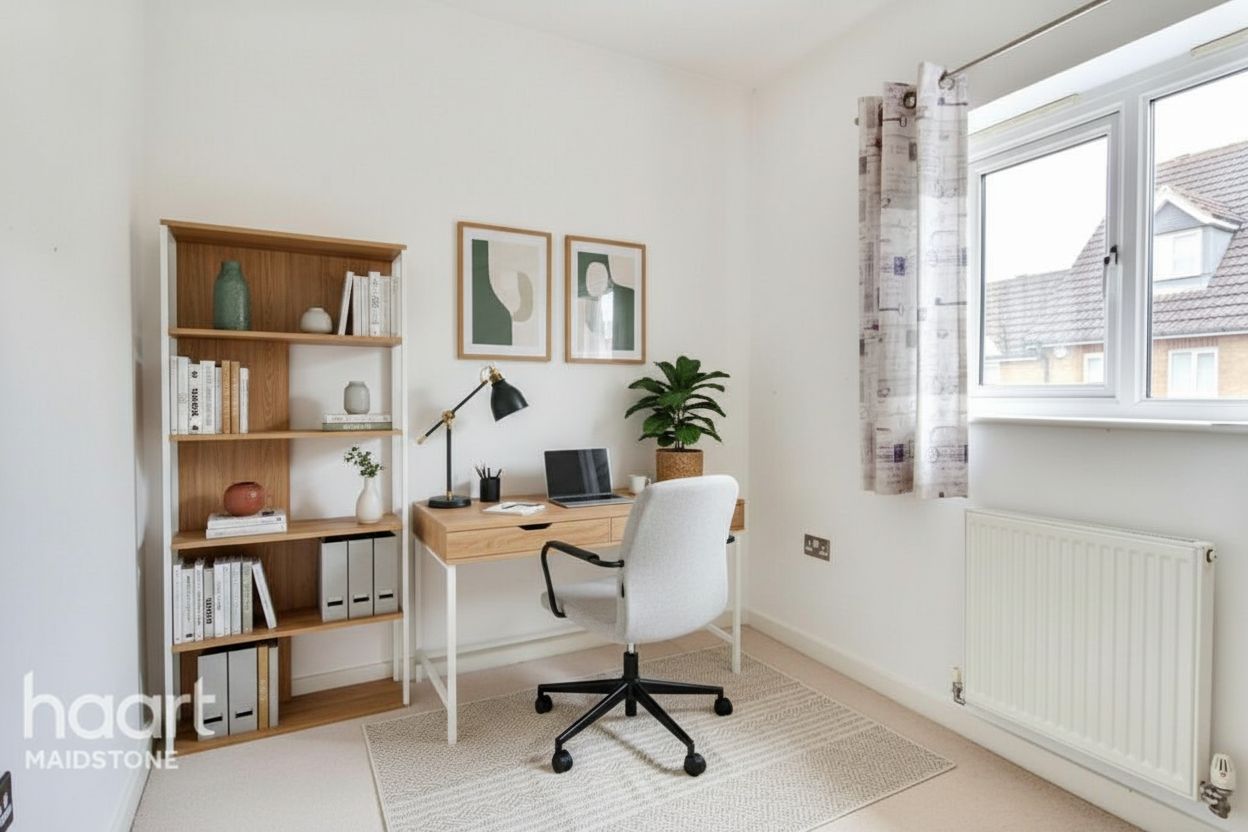
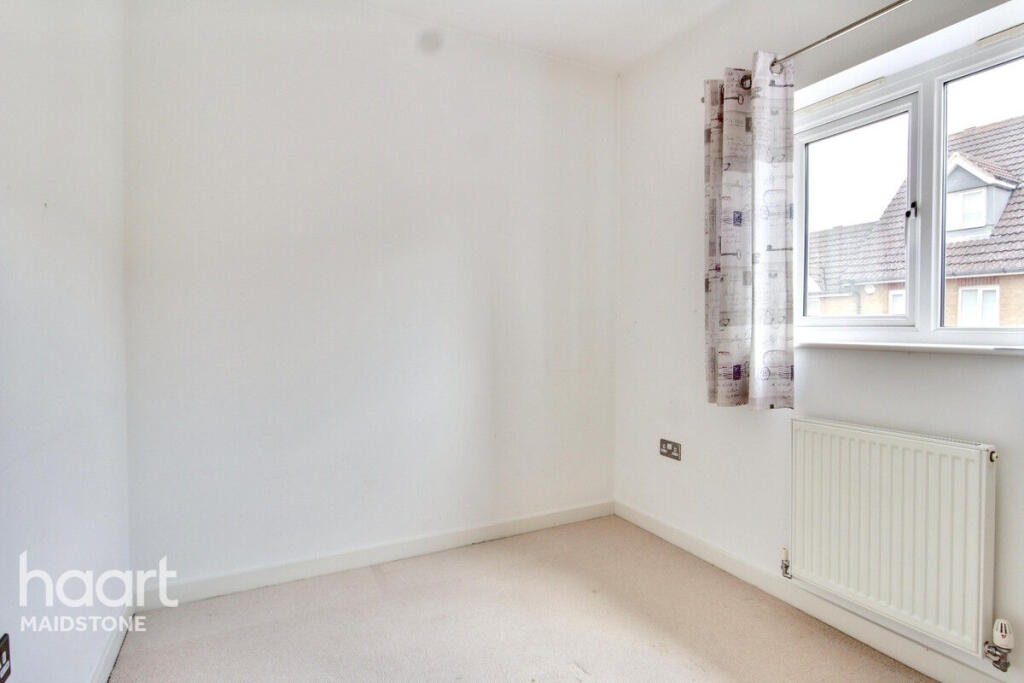
You choose the area
Drag a box around the item on the finished image. Only that region is edited.
Object removal
Mark an area on a finished RoomStage image and remove what is in it. The rest of the photo is left untouched.
Free preview first · then $1 · 3 days · 3 image credits · renews unless canceled
Edits one marked area
Rest of the photo untouched
Uses a free edit
On every plan
A targeted edit
A staged or edited photo is sometimes right except for one item: a cable, a bin, a chair in the wrong place. Object removal changes the area you mark and nothing else, so you do not have to run the whole photo again.
Drag a box around the item on the finished image. Only that region is edited.
Each photo includes 2 free re-runs or edits. Removing an object uses one of them, not a credit.
Use it on a photo from any tool: staging, enhancement, day-to-dusk and the rest.
A three-step workflow
Step 1
Object removal is an action on a result, so run the photo through any tool first.
Step 2
Choose the object-removal action and drag a box around it.
Step 3
Check the edited area against the original before you export.
Questions before the click
Not directly. Object removal works on a finished RoomStage image. Run the photo through a tool first, for example photo enhancement, then remove the object from the result.
Nothing extra while the photo has free edits left: each photo includes 2. The photo itself costs one credit.
It should not be used that way. Removing fixtures or parts of the property misrepresents the home; object removal is for loose items.
Removing an element from a listing photo is a digital alteration under most MLS rules and under California AB 723. RoomStage keeps the original so you can show both.
Next step
Run the photo through any tool, then mark what should go.
Free preview first · then $1 · 3 days · 3 image credits · renews unless canceled